
Up n8n on Hetzner VPS: What if you could automate repetitive tasks, connect your favorite apps, and run AI-powered workflows without paying for an expensive automation subscription?
With n8n and a cloud VPS, you can build your own automation server and maintain control over your workflows. Hetzner is a popular option for budget-conscious self-hosting, and Docker makes the installation manageable even for developers who are new to server administration.
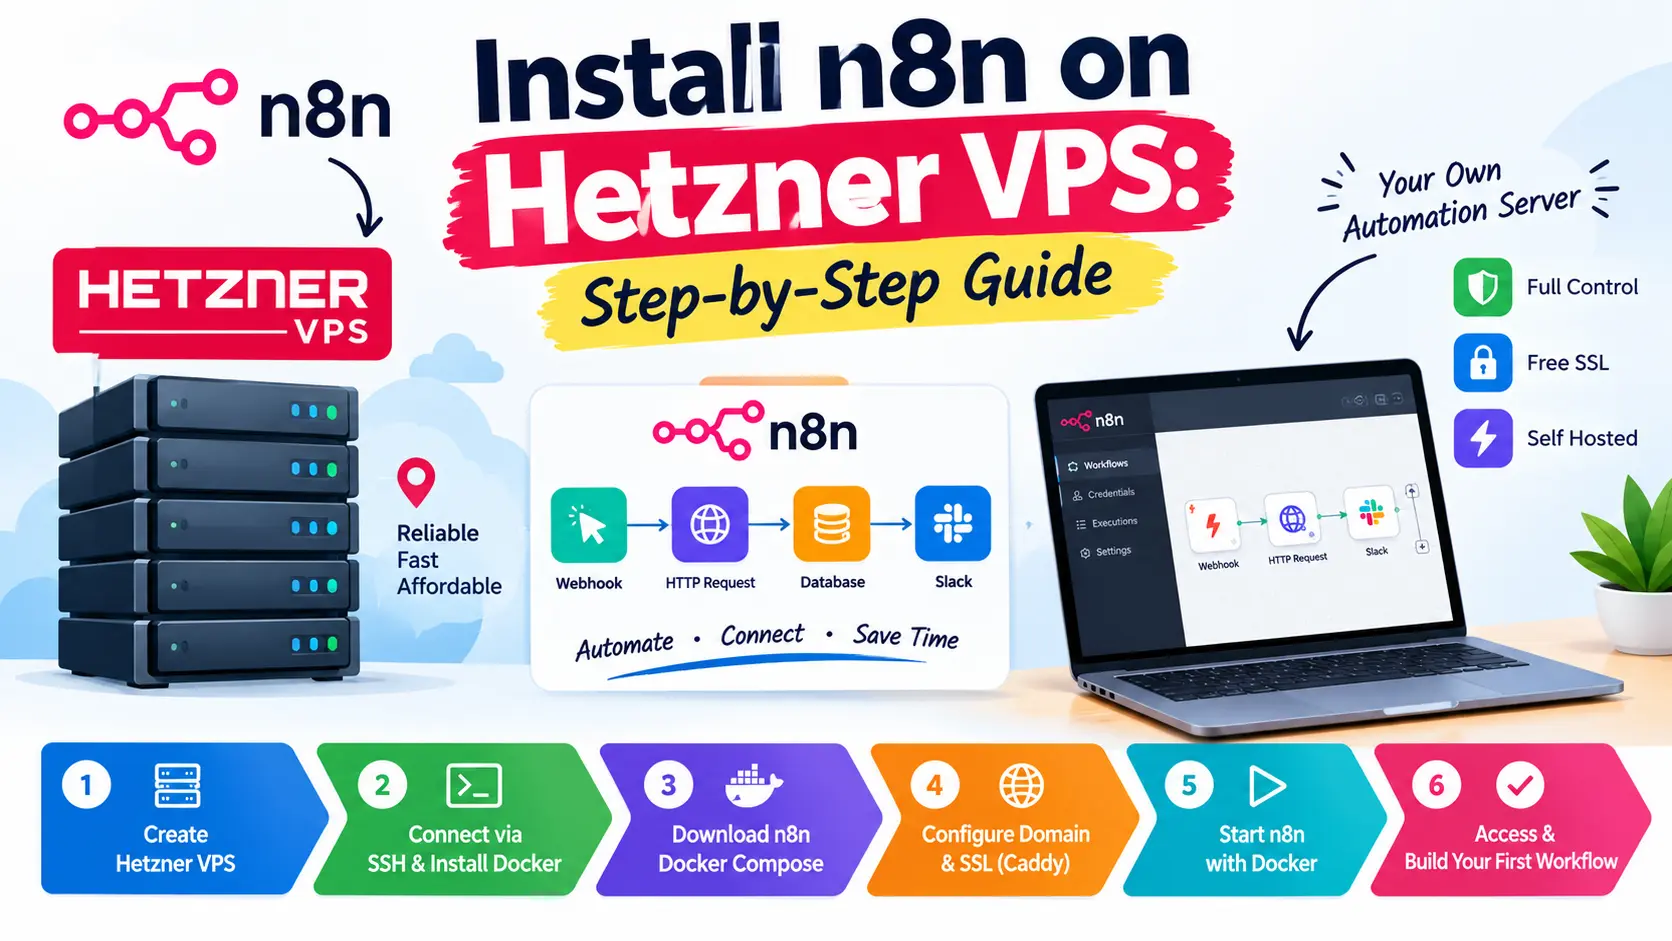
But can you still host n8n on Hetzner for under $5 per month in 2026? Current published pricing has changed, so this guide explains the real cost and walks you through installing n8n with Docker Compose, configuring a domain, enabling HTTPS, and keeping your data persistent.
What Is n8n, and Why Self-Host It on Hetzner?
n8n is a workflow automation platform that connects applications, APIs, databases, and AI services. You can use it to automate tasks without writing every integration from scratch.
For example, imagine you publish a new article on your WordPress website. An n8n workflow could retrieve the article information, send a notification, prepare a social media draft, and store the article details in a spreadsheet.
Instead of depending entirely on a hosted automation service, self-hosting lets you run your n8n instance on infrastructure you control.
Benefits of n8n self-hosting
- Greater control: Manage your own workflows, configuration, and server resources.
- Predictable infrastructure costs: Pay for your VPS and any optional services you use.
- Custom integrations: Connect APIs, webhooks, databases, and supported applications.
- Persistent workflows: Store your configuration and credentials on persistent storage.
- Flexible scaling: Upgrade your server as your automations grow.
Self-hosting also means you are responsible for security, updates, backups, and server maintenance. It is not a completely maintenance-free solution.
Can You Set Up n8n on Hetzner for Under $5?
Before installing anything, check the current cost.
The under-$5 price commonly mentioned in older tutorials may be based on previous server pricing. Hetzner announced a price adjustment effective June 15, 2026.
| Cost component | Published price in USD |
| CX23 cloud server | $6.49/month |
| Primary IPv4 address | $0.60/month |
| Estimated total with IPv4 | $7.09/month |
| Taxes | Additional where applicable |
These figures exclude VAT and other applicable taxes. Availability and final pricing depend on your selected location and account.
For an exact price, check Hetzner’s official pricing information before creating your server.
You may be able to reduce the bill by using an IPv6-only configuration when your networking and domain setup support it. However, IPv6 does not remove the underlying server cost, and not every visitor or integration can connect over IPv6.
The bottom line: Do not promise readers that a new Hetzner deployment costs less than $5 per month unless the actual plan and required networking fit that budget at checkout.
Requirements Before Installing n8n on Hetzner VPS
Prepare the following before starting the installation:
- A Hetzner Cloud account.
- A Linux cloud server.
- SSH access, preferably using an SSH key.
- Docker Engine and Docker Compose.
- A domain name or subdomain for secure access.
- Access to your domain’s DNS settings.
For this tutorial, we will use Hetzner’s Docker application image, the official n8n Docker Compose configuration, and Caddy as the reverse proxy for HTTPS.
For a small, lightly used instance, modest server resources may be sufficient. Choose a plan with enough memory for your workflow complexity and expected execution load. Resource-intensive AI workflows, large files, and many concurrent executions may require a larger server.
Step 1: Create a Hetzner Cloud Server
First, open the Hetzner Cloud Console.
- Create a project or select an existing project.
- Click Create Server.
- Select a location appropriate for your users and integrations.
- Under the image or application options, select Docker CE if it is available.
- Choose a suitable server plan.
- Add your SSH public key.
- Give your server a name, such as n8n-server.
- Create the server.
Once it is ready, copy its public IP address.
Practical tip: Store your server IP, SSH details, and domain information somewhere secure. You will need these details when connecting the domain and troubleshooting the installation.
Step 2: Connect to Your Server Using SSH
Open a terminal on your computer and connect to the server.
Replace SERVER_IP with your actual server IP address:
ssh root@SERVER_IP
If you created the server with a different username, replace root with that username.
After connecting, update the system packages:
apt update && apt -y upgrade
Install Git and the Docker Compose plugin if they are not already installed:
apt install -y git docker-compose-plugin
Check that Docker and Docker Compose are available:
docker –version
docker compose version
If either command fails, verify the Docker installation before continuing.
Step 3: Download the Official n8n Docker Compose Configuration
Instead of creating every configuration file manually, use the configuration repository linked from the official n8n Hetzner deployment guide.
Run:
git clone https://github.com/n8n-io/n8n-docker-caddy.git
Enter the project directory:
cd n8n-docker-caddy
This repository provides configuration for running n8n with Docker Compose and Caddy.
You can review the official n8n Hetzner deployment instructions if the repository’s files or installation steps change.
Step 4: Configure Your Domain and Environment Variables
Open the environment file:
nano .env
Find the relevant settings and replace the example values with your own:
DATA_FOLDER=/root/n8n-docker-caddy
DOMAIN_NAME=example.com
SUBDOMAIN=n8n
GENERIC_TIMEZONE=Asia/Kolkata
SSL_EMAIL=you@example.com
Change these values:
- DATA_FOLDER: Use the actual absolute directory containing your downloaded configuration.
- DOMAIN_NAME: Enter your registered domain, such as yourdomain.com.
- SUBDOMAIN: Use n8n or another subdomain you prefer.
- GENERIC_TIMEZONE: Set your local timezone. For India, use Asia/Kolkata.
- SSL_EMAIL: Enter a valid email address for certificate-related notifications.
For this example, your n8n URL will be:
Save the file in Nano by pressing Ctrl + O, then Enter, followed by Ctrl + X.
Make sure your domain name is correct. An incorrect domain can prevent the HTTPS certificate from being issued.
Step 5: Point Your Domain to the Hetzner Server
Log in to the service where your domain’s DNS is managed.
Create an A record using the following details:
| Setting | Example |
| Type | A |
| Host / Name | n8n |
| Value / IP address | Your Hetzner IPv4 address |
| TTL | Automatic or provider default |
If you are intentionally using IPv6 without IPv4, configure the appropriate AAAA record instead and confirm that your clients can reach the server over IPv6.
DNS changes can take time to propagate. Check that the subdomain resolves to the correct address before troubleshooting HTTPS.
Step 6: Configure the Caddy Reverse Proxy and SSL
Caddy acts as a reverse proxy between your browser and n8n. It can automatically obtain and renew HTTPS certificates when the domain and server are configured correctly.
Open the Caddy configuration:
nano caddy_config/Caddyfile
Find the example hostname and replace it with your actual subdomain.
The relevant configuration should direct incoming requests to the n8n service on port 5678, for example:
n8n.yourdomain.com {
reverse_proxy n8n:5678
}
Use the hostname and file structure expected by the repository you downloaded. If its Caddyfile already uses environment variables, update the corresponding values rather than replacing the whole file unnecessarily.
Open the required ports
Make sure your Hetzner firewall and any server firewall allow inbound TCP traffic on ports 80 and 443.
If you use UFW, allow SSH before enabling the firewall so you do not lock yourself out:
ufw allow OpenSSH
ufw allow 80/tcp
ufw allow 443/tcp
ufw status
Enable UFW only after reviewing its rules and confirming SSH access is permitted.
Do not expose port 5678 directly to the public internet. Caddy should handle incoming web traffic.
Step 7: Start n8n With Docker Compose
Create the persistent volumes required by the official setup:
docker volume create caddy_data
docker volume create n8n_data
Now start the services:
docker compose up -d
Docker downloads the required images and starts n8n and Caddy in the background.
Check the containers:
docker compose ps
If the containers do not start correctly, review the logs:
docker compose logs -f n8n
For Caddy errors, run:
docker compose logs -f caddy
Press Ctrl + C to stop following the logs. This does not stop the containers.
Step 8: Open n8n and Complete the Initial Setup
Once DNS has propagated and Caddy has obtained a certificate, open:
Complete the initial setup in the browser and create your n8n owner account.
If the website does not load, check the following:
- Your domain points to the correct server IP.
- Ports 80 and 443 are accessible.
- The Caddyfile contains the correct hostname.
- Docker Compose reports that the containers are running.
- The server has internet connectivity to obtain the certificate.
A browser security warning or certificate error usually indicates a domain, DNS, connectivity, or certificate configuration issue. Do not bypass the warning and enter credentials until you have resolved it.
Step 9: Test Your First Automation Workflow
Now that n8n is running, create a simple workflow to confirm that the installation works.
For example, build a workflow that starts manually and creates a sample item or sends a test notification through a supported service.
A useful beginner workflow might look like this:
- Add a Manual Trigger node.
- Add a Set or Edit Fields node with a test message.
- Connect the nodes.
- Execute the workflow.
- Confirm that the output contains the expected message.
After the test succeeds, build a workflow for your real use case, such as processing form submissions, organizing data, or preparing WordPress content notifications.
Keep API keys and credentials inside n8n’s credential system instead of placing secrets directly in workflow notes or public code repositories.
Step 10: Secure, Back Up, and Maintain Your n8n VPS
A working installation is only the beginning. If your workflows matter, maintenance is essential.
Protect your credentials
n8n stores credentials in encrypted form and uses an encryption key to decrypt them. Preserve the n8n data volume and its encryption configuration when moving or restoring your installation.
Restrict SSH access, use strong account credentials, and keep Docker and the operating system updated.
Back up your data
Back up the n8n data volume and your deployment configuration. Your backup should also preserve the encryption key required to recover stored credentials.
Store backups somewhere separate from the server. A backup on the same VPS will not protect you if that VPS or its storage is lost.
Update n8n carefully
Before updating, take a backup and review the release notes. Then, from the deployment directory, run:
docker compose pull
docker compose up -d
This pulls updated images and recreates services as needed. Test your workflows after the update and make sure the data volumes remain attached.
Avoid deleting Docker volumes when removing or recreating containers. Persistent volumes can contain your database, settings, workflow information, and credentials.
Common n8n on Hetzner VPS Problems and Fixes
| Problem | What to check |
| Domain does not open | DNS records and server IP |
| HTTPS certificate fails | Domain resolution, ports 80/443, Caddy logs |
| n8n container restarts | docker compose logs n8n |
| Workflows disappear after recreation | Persistent volume configuration and backups |
| Scheduled workflows run at the wrong time | GENERIC_TIMEZONE and TZ settings |
| Webhooks use the wrong URL | HTTPS hostname and WEBHOOK_URL configuration |
| Server runs out of memory | Execution load, workflow data, and server resources |
A small VPS can be sufficient for simple automations, but it is not guaranteed to support every workload. Monitor memory and CPU usage, especially if you process large files or execute several workflows concurrently.
Is Hetzner a Good Choice for Cheap n8n Hosting?
Hetzner can be a good choice when you want control over a self-hosted automation platform and are comfortable managing a Linux server.
It is particularly useful for developers, bloggers, and small businesses that want to connect multiple services without maintaining a separate machine.
However, compare the complete monthly cost, not just the advertised server rate. Include the public IP address, applicable taxes, backups, additional storage, and any external APIs you use.
If your budget is strictly $5 per month, check current offers from several providers or consider running n8n locally for experimentation. Do not purchase a server based on an outdated pricing tutorial.
Conclusion
Setting up n8n on a Hetzner VPS gives you a flexible way to run your own automation workflows. With Docker Compose, Caddy, a properly configured domain, and persistent storage, you can create a self-hosted deployment without manually managing every application component.
The important detail is pricing: the under-$5 Hetzner claim is no longer accurate for the published CX23 rate plus IPv4 as of October 2026. Check the actual price for your selected server before deploying.
Ready to automate your work? Start with one simple n8n workflow, verify that it runs reliably, and expand only after you have a tested backup and secure server configuration.
Frequently Asked Questions
1. Can I install n8n on Hetzner VPS for under $5 per month?
Not at the published October 2026 CX23 rate when adding a Primary IPv4. The server is listed at $6.49 per month and IPv4 at $0.60 per month, before applicable taxes. Always verify the current price at checkout.
2. How do I install n8n on a Hetzner VPS?
Create a Linux server, connect over SSH, install Docker Compose, download the official n8n Docker Compose configuration, configure the domain and Caddy, and start the services with docker compose up -d.
3. Is Docker required to self-host n8n on Hetzner?
Docker is not the only possible installation method, but Docker Compose is a practical way to manage n8n and its reverse proxy. This tutorial uses Docker Compose because it makes service management and upgrades easier to organize.
4. Do I need a domain name to use n8n on a VPS?
A domain is strongly recommended for a secure public installation with HTTPS and externally accessible webhooks. A domain configured to point to your VPS makes the instance easier to access and lets Caddy request a certificate.
5. Does n8n on Hetzner include free SSL?
Caddy can obtain and renew HTTPS certificates automatically when the domain, DNS, and network configuration meet the certificate authority’s requirements. The VPS itself is not the SSL certificate provider; you still need a correctly configured public endpoint.
6. How much RAM does n8n need on a VPS?
The amount depends on your workflows, execution history, concurrency, and integrations. Small workloads can run on modest instances, but workflows involving large data sets, AI processing, or multiple concurrent executions may need more memory. Monitor usage and upgrade when necessary.
7. How can I update n8n without losing workflows?
Back up your n8n data and deployment configuration first. Then pull the updated Docker images and recreate the services using Docker Compose. Preserve the persistent data volume and the encryption configuration required for stored credentials.
Read more:
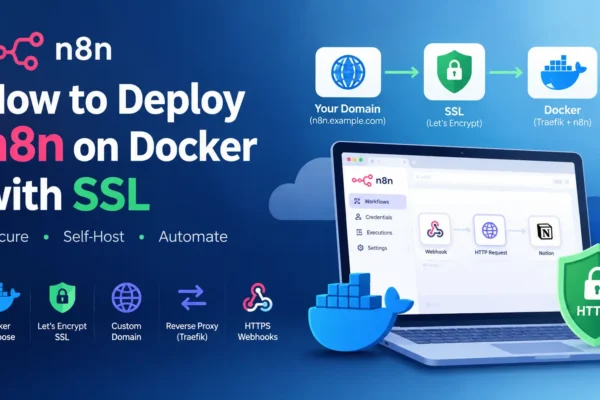
How to Deploy n8n on Docker with SSL (Step-by-Step Guide)